


Views: 0 Author: Site Editor Publish Time: 2026-10-09 Origin: Site


Few things are more annoying than an outdoor security light acting erratically. You expect these fixtures to reliably illuminate the dark, but instead, they stay on permanently or refuse to trigger entirely. When your lighting malfunctions, it compromises your property's safety and unnecessarily spikes your electricity bill. Most homeowners assume the unit is permanently broken, prompting them to throw it away prematurely.
Fortunately, most sensor glitches stem from temporary grid power dips or accidental manual overrides rather than permanent hardware failures. A simple, targeted reset is usually the most logical first step to get things working again. In this guide, we will walk you through diagnosing a stuck sensor. You will learn safe, proven reset methods to restore normal automatic function quickly. We will also help you determine when recurring failures mean it is time to upgrade to a modern, reliable replacement.
The Quick Fix: A standard reset usually requires cutting power at the breaker for 1 to 10 minutes, forcing the system's internal relay to clear its memory.
The "Manual Override" Trap: Quickly toggling a wall switch is the #1 reason sensors get stuck in the "always-on" mode.
Safety First: Troubleshooting electrical components carries inherent risks; verify power is off before physical inspections.
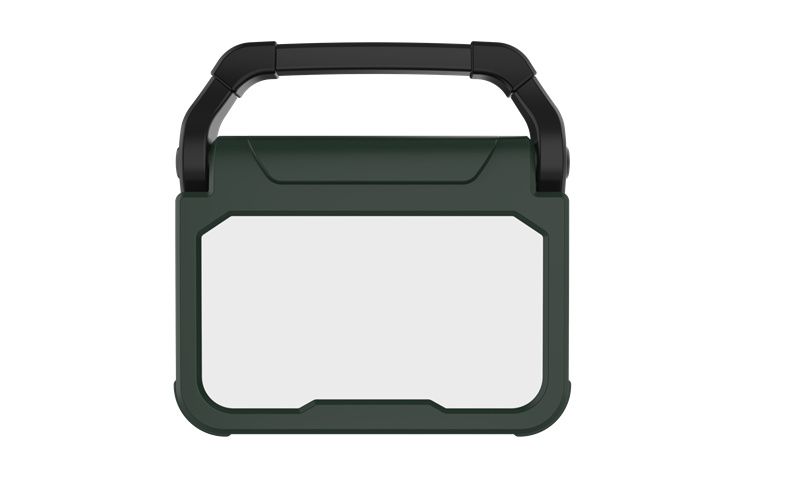
Replacement Threshold: If basic resets and sensitivity calibrations fail, replacing an aging unit with a commercial-grade Flood Light or portable Motion Sensor Work Light is often more cost-effective than electrical repair.
You might wonder why your security light suddenly stopped working properly. Often, human error is the primary culprit. Flipping the indoor light switch off and on too rapidly triggers a manual override function. Manufacturers build this feature into most modern sensors. It intentionally bypasses the motion detector so you can keep the lights on during a backyard gathering. Unfortunately, you can easily activate this override by accident during regular daily routines.
Brief electrical grid fluctuations also cause unpredictable problems. A quick power surge or a momentary blackout confuses the micro-controller. This small computer chip lives inside the passive infrared (PIR) sensor. When internal logic scrambling happens, the relay gets stuck. It remains locked in either a continuous "on" or a permanent "off" state until you manually intervene.
Finally, you must evaluate the immediate physical environment. Dust, heavy rain, or thick spider webs frequently block the sensor lens. These environmental obstructions mimic true hardware failure perfectly. They physically blind the infrared detection field. Your sensor cannot see human body heat if a layer of dirt covers its plastic dome. Routine cleaning prevents this common misdiagnosis.
Safety must remain your top priority when dealing with outdoor fixtures. You must treat all outdoor wiring as live voltage. Never assume a simple wall switch flip completely cuts the electrical current. Working around electricity carries inherent risks. Following basic household electrical safety standards prevents serious injury or accidental shocks.
Before you begin any troubleshooting, gather the right equipment. Having the correct tools ensures a smooth, safe process.
Non-contact voltage tester (to verify wires carry no active current).
Sturdy, appropriately rated step ladder (ensure it sits on flat, stable ground).
Micro-fiber cloth (for safely cleaning the delicate PIR plastic lens).
Do not rely solely on the indoor wall switch. Instead, locate the specific circuit breaker powering your outdoor fixture. Head to your main electrical panel and turn this specific breaker to the "off" position. Use your non-contact voltage tester near the fixture to confirm the power is truly gone. This action guarantees zero power flows to the unit. You can then safely perform physical inspections and hard resets.
Once you secure the area, you can begin the resetting procedures. Start with the easiest method and progress to the more thorough techniques if the problem persists.
This method targets lights stuck in manual override. You can perform this without going to the breaker box.
Turn the indoor wall switch to the "off" position.
Wait exactly 10 seconds.
Turn the switch back to the "on" position.
The light should flash once or stay on briefly. After this sequence, it should revert to its standard "Auto" detection mode.
If the wall switch trick fails, you need a hard reset to clear deep micro-controller faults.
Go to your main electrical panel.
Switch the outdoor light's breaker to the "off" position.
Leave the breaker off for a minimum of 10 minutes.
Restore the power by flipping the breaker back on.
Leaving the power off for a full 10 minutes is a crucial detail. Older electrical components contain capacitors that hold a residual charge. These capacitors require longer drain times. Only a complete energy drain forces the internal relay to fully clear its memory. This wait time aligns with widely accepted electronic troubleshooting standards.
After restoring power, you must guide the system back to baseline levels.
Locate the dials under the sensor head.
Adjust the "Time" dial (duration of illumination) to its lowest setting.
Adjust the "Sens" dial (detection range) to the middle position.
Switch the fixture into "Test" mode.
Run a walk-through test during daylight hours. Walk across the expected detection zone. The light should trigger briefly to confirm it sees you. Once calibrated, change the setting from "Test" back to "Auto" and set your preferred time duration.
Sometimes, basic resets fail to resolve erratic behavior. When this happens, you need to investigate deeper environmental factors. Extreme temperatures significantly impact performance. You must understand the limitations of PIR technology in extreme heat. The sensor detects the difference between ambient background heat and a moving human body. When summer temperatures match normal human body temperature, the contrast disappears. This reduces sensitivity drastically, making the unit seem unresponsive.
Moisture ingress presents another frequent challenge. Weather seals naturally degrade over years of sun exposure. When IP rating failures occur, water seeps into the housing. This leads to condensation forming inside the plastic dome. Trapped water eventually reaches the circuit board, permanently shorting the sensor. Look closely for tiny water droplets behind the lens. If you see them, the internal electronics are likely ruined.
Finally, check your positioning and range. Incorrect angling causes endless false triggers. Do not point the lens directly at a busy street. Cars emit massive amounts of heat. Avoid pointing the detector toward heating vents, air conditioning units, or dryer exhausts. Rapid changes in air temperature trigger the light. Homeowners frequently misinterpret these false triggers as a "broken" fixture. Simply angling the head downward limits the detection field and eliminates most unwanted activations.
You will eventually reach a point where troubleshooting yields no results. At this stage, you must perform a straightforward cost-benefit analysis. Compare the cost of calling a licensed electrician against the cost of a complete replacement. Professional diagnostic fees typically exceed the price of a brand-new, highly efficient fixture.
Scenario | Recommended Action | Rationale |
|---|---|---|
Light functions perfectly after a 10-minute breaker reset. | Keep the current fixture. | The issue was a temporary micro-controller fault or power surge. |
Visible condensation inside the sensor dome. | Replace the unit. | Moisture has breached the seals, guaranteeing electrical shorts. |
Unit malfunctions again within one week of resetting. | Replace the unit. | The internal relay is failing and cannot reliably hold memory. |
Wiring appears frayed or visibly damaged by pests. | Call an electrician. | Exposed wiring is a severe safety hazard requiring professional repair. |
When deciding to upgrade, outline strict success criteria for your new fixture. Seek out dual-head LED efficiency to reduce energy consumption. Demand a minimum IP65 weather resistance rating to prevent future water damage. Customizable detection zones are also highly recommended to prevent annoying false triggers from neighboring properties.
Consider alternative solutions for specific functional areas. Hardwiring permanent fixtures is not always necessary for garages, driveways, or temporary sheds. For these spaces, a portable Motion Sensor Work Light provides excellent localized area illumination. These units highlight portability and ease of installation. However, if you need broad, permanent coverage for home security, upgrading to a commercial-grade Flood Light is the most sensible choice.
Pay close attention to vendor selection criteria. Look for strong warranties and industry certifications like UL or ETL marks. These marks prove the product passed rigorous safety testing. Evaluate customer support benchmarks as well. You want to buy from a manufacturer that stands behind its hardware when technical questions arise.
Restoring your outdoor lighting usually requires just a few minutes of your time. We have established that a hard reset via the breaker resolves the vast majority of stuck sensor issues. By draining the residual power, you give the internal computer a fresh start. Remember to always prioritize safety. Verify the electrical current is completely dead before touching any wiring or climbing a ladder.
Always attempt the 10-minute breaker reset before assuming the hardware is broken.
Clean the sensor lens and adjust the sensitivity dials to eliminate environmental false triggers.
Monitor the fixture's behavior for a full week after recalibration.
If your light reverts to malfunctioning within a few days, the internal relay is likely shot. At that point, further troubleshooting wastes your time. Buying a modern replacement is the safest, most economical next step to secure your property.
A: This happens when the "Lux" or photocell dial is turned too far toward the "Sun" icon. This setting tells the fixture to operate regardless of ambient light. To fix it, rotate the dial toward the "Moon" icon so it only triggers at night.
A: Always leave the breaker off for a minimum of 10 minutes. Older electrical components contain capacitors that store residual energy. Waiting 10 minutes ensures the capacitors drain completely, allowing the internal relay to clear its memory and reset successfully.
A: Yes, most modern fixtures feature a manual override. You can activate this by turning the wall switch off and immediately back on within one or two seconds. The light will remain continuously illuminated until you turn it off again.
A: Use a clean, dry microfiber cloth to gently wipe away loose dust. For stubborn dirt or sticky webs, lightly dampen the cloth with mild dish soap and water. Avoid harsh chemical cleaners or abrasive sponges, as they will permanently cloud the plastic.

