


Views: 0 Author: Site Editor Publish Time: 2026-09-10 Origin: Site


Installing a high-output fixture is fundamentally different from simply swapping a basic porch bulb. You are dealing with commercial-grade brightness, heavy-duty hardware, and complex electrical systems. Improper installation often leads to rapid water ingress, premature fixture failure, or severe electrical hazards. Structural integrity, strict electrical safety, and long-term weather resistance remain non-negotiable elements for any exterior lighting project. Rushing this process exposes you to significant physical and property risks.
We will outline a standardized, compliance-aware process for thoroughly evaluating your existing setup. You will learn how to choose the right mount and safely wire your new system step-by-step. This guide ensures your project stays secure, up to code, and reliably bright for years to come. By following these professional protocols, you guarantee a safe and robust installation.
Safety First: Verifying zero voltage at the breaker is non-negotiable before touching any existing wiring.
Mount Compatibility: The success of the installation relies entirely on matching the fixture’s mounting bracket (slip fitter, arm, or trunnion) to your specific pole or wall structure.
Weatherproofing is Critical: Failing to apply outdoor-rated silicone sealant is the leading cause of premature outdoor light failure.
Code Compliance: Installation must adhere to local NEC (National Electrical Code) guidelines, particularly regarding grounding and wire gauge.
Rushing into an installation without assessing the existing infrastructure wastes time. Skipping infrastructure checks often leads to mid-project delays. It also introduces severe safety risks. Thorough preparation defines the success of your lighting upgrade. You must verify structural and electrical baselines before purchasing any hardware.
First, audit your infrastructure. Check the voltage of the existing circuit. Residential settings typically use 120V circuits. Commercial locations frequently utilize 277V systems. Use a digital multimeter to confirm your exact voltage. Ensure your new Area Light matches this specific electrical supply. Connecting a 120V-rated fixture to a 277V line causes immediate catastrophic failure.
Next, evaluate the structural integrity of your mounting surface. Wood, masonry, and metal poles handle stress differently. Inspect wooden surfaces for dry rot. Check masonry for crumbling mortar. Ensure metal poles show no heavy rust at the base. The structure must easily support the fixture's weight. It must also withstand local wind loads. Coastal or high-wind areas require rigid mounting solutions to prevent sway and hardware fatigue.
Gather your materials before climbing a ladder. Searching for tools while elevated is dangerous. Prepare a dedicated toolkit for exterior electrical work. Keep your tools organized and accessible.
Pre-Installation Tool Checklist
Tool Category | Specific Items Required | Primary Purpose |
|---|---|---|
Safety Testing | Non-contact voltage tester, digital multimeter | Verifying power status and circuit voltage accurately. |
Electrical Connection | Wire strippers, exterior-grade wire nuts, electrical tape | Stripping jackets and securing weatherproof wire splices. |
Sealing & Protection | Outdoor-rated silicone caulk, caulk gun | Preventing water ingress behind the mounting canopy. |
Structural Anchoring | Power drill, masonry bits, heavy-duty anchors | Securing the mounting bracket to the wall or pole. |
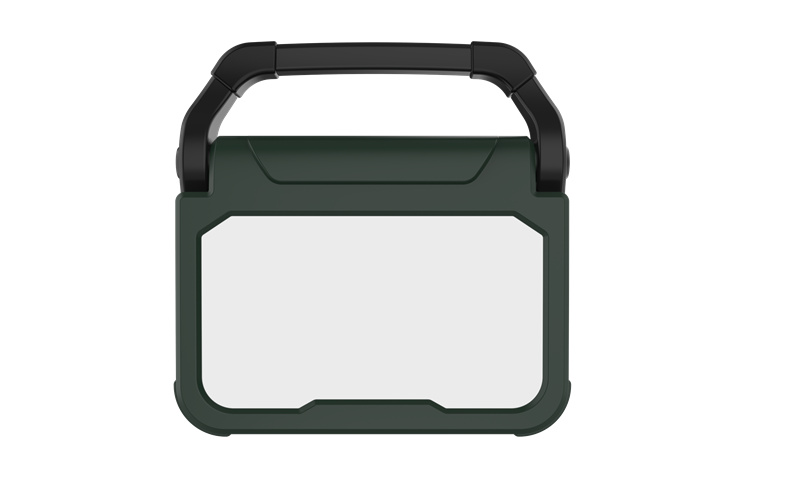
Buyers frequently purchase the wrong fixture because they misunderstand mounting hardware requirements. We must clarify specific use cases for different mounts. This prevents frustrating returns. It also eliminates catastrophic installation failures. Selecting the correct bracket is just as vital as choosing the right wattage.
The slip fitter mount is best suited for round poles. It allows for highly precise angle adjustments. Installers can usually tilt the fixture in small degree increments. This helps aim light exactly where needed. Always verify the pole's tenon diameter before purchasing. Most standard slip fitters accommodate a 2-3/8 inch tenon. Forcing a slip fitter onto an oversized pole weakens the structural hold.
The direct mount, or extruded arm, serves a different purpose. It is designed specifically for square poles or flat walls. This mount requires precision drilling. You must align the bolt pattern perfectly. Use a leveling tool during setup. A crooked arm looks unprofessional and can stress the mounting bolts unevenly over time.
The trunnion or yoke mount acts as a heavy-duty bracket. It is ideal for building facades, large billboards, or wooden posts. It provides excellent structural stability against high winds. However, it limits rotational adjustment compared to slip fitters. You can typically only adjust it up and down, not side to side.
Mounting Hardware Comparison Chart
Mount Type | Best Application | Key Advantage | Notable Limitation |
|---|---|---|---|
Slip Fitter | Round metal or fiberglass poles | Allows precise vertical angle adjustments. | Requires a specific tenon diameter to fit securely. |
Direct Mount / Arm | Square metal poles or flat concrete walls | Clean, flush aesthetic for architectural integration. | Requires precise pre-drilling and alignment. |
Trunnion / Yoke | Building facades, billboards, solid wood | Offers maximum structural stability and wind resistance. | Limits side-to-side rotational adjustments. |
Execution requires patience and strict adherence to protocol. Working systematically prevents errors. Professional electricians follow rigid steps to guarantee safety and performance. You must treat every wire as if it is live until proven otherwise.
Start by detailing the lock-out/tag-out process at the main breaker panel. Find the correct circuit breaker. Switch it to the "off" position. Place a visible warning tag on the panel box. This stops others from accidentally flipping the switch while you work. Never assume the power is off just because the switch is down. Use your non-contact voltage tester. Touch it to the wires inside the junction box. Verify absolutely zero power before proceeding.
Route the fixture wires carefully through the mount opening. Avoid scraping the wire insulation against sharp metal edges. Secure the bracket tightly to the wall or pole. Use heavy-duty, weather-resistant anchors for this step. Ensure the bracket sits perfectly level. A level bracket ensures proper light distribution. Tighten all bolts to the manufacturer's specified torque.
You must establish solid electrical connections. Poor splices cause arcing and eventual failure. Follow standard wiring protocols closely.
Grounding: Connect the green or bare copper wire to the ground source. Grounding is critical for safety. It directs rogue currents safely into the earth.
Neutral: Connect the white fixture wire to the white building wire. Strip exactly half an inch of insulation. Twist them tightly together.
Hot/Line: Connect the black fixture wire to the black building wire. Secure the connection using exterior-grade wire nuts. Give each nut a firm pull-test to ensure it holds.
Briefly address the dimming wires. These are usually colored purple and gray (or pink in newer fixtures). Cap them securely using small wire nuts if you are not using a 0-10V dimmer. Leaving them exposed can cause the fixture to function erratically.
Push all connected wires neatly into the junction box. Do not cram them forcefully. Ensure no wires get pinched by the mounting plate. A pinched wire behind the fixture housing causes immediate electrical shorts. Secure the main fixture body to the bracket. Double-check all set screws. Securing an Outdoor Area Light correctly prevents wind vibration from loosening the connections over time.
High IP ratings do not guarantee invincibility. Even an IP65 or IP66-rated fixture can fail quickly. Failure usually happens when the junction box connection becomes compromised. Water finds the path of least resistance. Capillary action can draw moisture directly along the wiring into the fixture housing.
Sealing the fixture properly is mandatory. Grab your outdoor-grade silicone caulk. Clean the mounting surface thoroughly to ensure good adhesion. Apply a thick, continuous bead of silicone around the top edge. Continue caulking down both sides of the mounting canopy. Press the silicone firmly to seal gaps.
Crucially, leave the bottom edge completely unsealed. This creates a weep hole. It allows any trapped internal moisture or condensation to escape freely. Sealing the entire perimeter traps water inside. Trapped water accelerates corrosion and ruins the internal driver.
Once sealed, initiate your testing protocol. Restore power carefully at the main breaker panel. Observe the light output. Check for any immediate flickering or humming sounds.
Many fixtures feature a photocell or dusk-to-dawn sensor. You can test this sensor easily during daylight hours. Cover the photocell completely with black electrical tape. Block out all ambient light. Wait one to two minutes. The light should turn on automatically. Remove the tape. Watch the fixture power down after sensing the daylight. This confirms the sensor operates perfectly.
Assess your technical skills honestly before starting. You must decide if you are truly qualified. Executing this project safely requires strict adherence to local codes. Overestimating your electrical knowledge leads to dangerous situations. Use this evaluation framework to make an informed choice.
Direct one-to-one replacements usually fall under safe DIY territory. This applies to standard 120V residential circuits. Your existing junction box must be structurally sound. The mounting point must also be completely intact. If you are simply unbolting an old fixture and wiring a new one to existing, healthy cables, an experienced DIYer can handle it.
However, many scenarios demand a licensed professional. Do not hesitate to hire an electrician when the project scope expands. Consider calling an expert under the following conditions:
Running entirely new wiring paths across the property.
Upgrading an overloaded breaker panel to support higher wattage fixtures.
Installing commercial fixtures requiring 277V or 480V power. These voltages present severe arc flash hazards.
Working at extreme heights requiring scaffolding or a bucket truck.
Fulfilling local building codes requiring pulled permits and official inspections.
A licensed professional guarantees NEC code compliance. They understand intricate grounding requirements. They also carry insurance. Paying for professional installation often saves money by preventing costly mistakes and dangerous electrical fires.
A successful installation relies on methodical preparation. You must match your specific mounting hardware to your structural environment. Enforce strict weatherproofing practices, particularly the weep-hole method, to prevent inevitable water damage. Never compromise on electrical lock-out procedures prior to handling exposed wires.
Double-check your structural requirements today. Evaluate your pole diameter or wall integrity carefully. Procure commercial-grade fixtures equipped with robust mounting brackets. Follow local codes strictly. By prioritizing safety and precision, your new lighting system will perform reliably for decades.
A: Permit requirements depend heavily on your local municipality. A simple one-to-one fixture swap rarely requires formal permission. However, running new wiring or altering the circuit usually mandates pulling a permit. Always consult your local building department before beginning electrical work to ensure full legal compliance.
A: Flickering typically stems from three common issues. You might have loose wire nuts inside the junction box. Your fixture might be connected to an incompatible dimmer switch. Alternatively, the photocell might be receiving light feedback from a nearby reflective surface, causing it to cycle on and off constantly.
A: Most standard residential circuits utilize 12 AWG or 14 AWG wiring. However, wire gauge depends heavily on the total circuit amperage and the distance from the breaker panel. Always consult local NEC codes to determine the exact gauge required to prevent dangerous voltage drop and wire overheating.
A: A general benchmark is 15 to 20 feet above the ground. This height provides excellent coverage for standard residential or light commercial spaces. Remember that height directly impacts both light spread and ground-level intensity. Higher mounts cast wider beams but reduce concentrated brightness directly below the fixture.

