


Views: 0 Author: Site Editor Publish Time: 2026-09-20 Origin: Site


Poor workspace illumination causes serious issues for anyone tackling detailed projects. It directly leads to eye strain, precision errors, and hidden safety hazards. You need clear visibility to work effectively and safely. Proper installation and strategic placement of a Work Light provide the ultimate solution. This systematic approach eliminates frustrating shadows. It also maximizes lumen efficiency across your entire workbench.
Safe installation requires specific foundational knowledge. You must consistently adhere to basic electrical safety standards. You also need to understand structural load limits and optimal lighting angles. Ignoring these factors compromises both safety and performance. This guide covers everything you need to know. We detail both plug-and-play suspension methods and permanent hardwired installations. You will learn how to evaluate the best approach for your specific workspace setup. By following these steps, you will achieve professional-grade illumination.
Placement is Critical: Positioning the light directly over the front edge of a workbench (rather than behind the worker) prevents intrusive shadows.
Mounting Types Dictate Complexity: Chain-mounted plug-in lights offer easy scalability, while hardwired fixtures require electrical compliance and permanent placement.
Structural Integrity: Never rely solely on standard drywall anchors for suspended lights; anchor directly to ceiling joists or use heavy-duty toggle bolts.
Safety First: Hardwired installations demand verifying power isolation at the breaker box using a non-contact voltage tester.
You must properly evaluate your workspace before purchasing any fixtures or hardware. Jumping straight into installation often leads to subpar lighting. We recommend assessing your primary task demands first. This helps define your specific success criteria. Different projects require vastly different lighting setups.
If you perform intricate detailing or woodworking, you need high lumen output. You also need a wide beam spread to illuminate fine details. General garage storage requires less intense illumination. Determine what you will do most often in the space. This dictates your required lumens and preferred color temperature.
Next, you must select the right fixture type for your needs. We categorize these into three main options:
Linkable LED Shop Lights: These offer incredible scalability. You can daisy-chain multiple fixtures together. They run off a single standard receptacle. This makes them perfect for expanding garages.
Portable Work Light Options: These suit highly dynamic environments perfectly. Task locations shift frequently in busy shops. A Portable Work Light provides flexibility. We evaluate these based on overall durability. Quick-mount capabilities, like magnetic bases or clamp mounts, add significant value.
Hardwired Fixtures: These serve permanent, professional-grade environments best. They require strict code compliance. They offer seamless, switch-operated solutions. You never have to deal with dangling cords.
Finally, conduct a thorough risk assessment of your environment. Measure your exact ceiling height. Locate the accessibility of existing power outlets. Note any environmental factors affecting the installation. Damp garages require specific moisture-rated fixtures. Ignoring environmental ratings leads to premature fixture failure. Plan carefully to ensure longevity and safety.
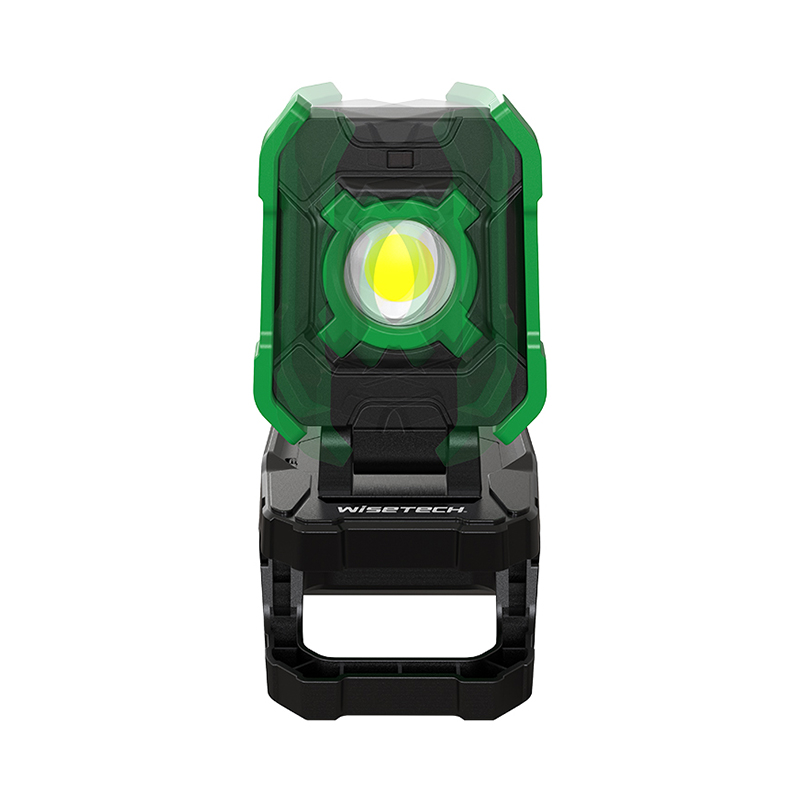
Strategic placement matters just as much as fixture brightness. Even the brightest fixture fails if positioned poorly. You must calculate height, spacing, and angles carefully. This ensures optimal visibility across your primary work surface.
We must first address the optimal suspension height. The standard recommendation sits between 36 to 48 inches above the work surface. This range provides intense, focused task lighting. Taller ceilings introduce unique challenges. You might need to hang the fixture higher for clearance. In these cases, you must compensate for the increased distance. Choose fixtures utilizing narrower beam angles. Alternatively, select units pushing a much higher lumen output.
Table: Recommended Workspace Lighting Guidelines
Task Type | Recommended Height Above Bench | Suggested Lumen Output |
|---|---|---|
General Storage / Assembly | 48 - 60 inches | 3,000 - 5,000 lumens |
Woodworking / DIY Projects | 36 - 48 inches | 5,000 - 8,000 lumens |
Fine Detailing / Electronics | 24 - 36 inches | 8,000+ lumens |
Mitigating shadows requires precise lateral positioning. Never place the light directly behind your standing position. Your body will block the illumination completely. This creates frustrating dark spots exactly where you need light most.
Industry experts recommend a specific placement technique. Position the fixture slightly forward of the center of the workbench. This angle bounces the light gently toward you. It effectively minimizes body and hand shadows while you work. You gain an unobstructed, brightly lit view of your materials.
Spacing multiple fixtures requires equal attention. We utilize the traditional half-spacing rule. The horizontal distance between multiple fixtures should roughly equal their height above the surface. If lights hang four feet above the bench, space them four feet apart. This simple mathematical rule guarantees even light distribution. It eliminates harsh hot spots and dark zones between the units.
Gathering the correct tools ensures a smooth installation process. It also prevents dangerous makeshift solutions. Proper hardware guarantees the fixture remains securely mounted over time. Never compromise on load-bearing components.
Start by assembling your essential hand tools. You will need a reliable stud finder. A high-quality drill and driver set is mandatory. Keep a measuring tape and laser level nearby. A sturdy, well-balanced step ladder ensures safe overhead access. Do not stand on unstable buckets or chairs.
Hardwiring requires additional safety and electrical gear. You absolutely must use a non-contact voltage tester. This tool saves lives. Wire strippers ensure clean copper connections. Keep appropriate wire nuts accessible. Modern Wago connectors simplify the process significantly. Standard twist-on nuts also work perfectly if applied correctly. Always wear safety glasses when drilling overhead to protect your eyes from debris.
Mounting hardware variables depend entirely on your ceiling structure. Choose your anchors based on the following rules:
Wood Joists: This represents the safest mounting scenario. Use heavy-duty screw-in eye hooks. The threads bite deeply into the solid wood. This provides maximum pull-out resistance for heavy fixtures.
Drywall (No Joist Access): Sometimes joists simply do not align perfectly with your workbench. You must use butterfly toggle bolts in these instances. The metal wings spread the load widely across the drywall panel.
Avoid standard plastic ribbed anchors completely. Suspended fixtures experience constant downward vibration. Air currents and accidental bumps shift the fixture. Weight fatigue eventually causes plastic anchors to pull straight out. The resulting crash damages the fixture and endangers you.
Chain-mounted fixtures offer exceptional convenience. They bypass the need for complex electrical work. You simply hang them and plug them in. However, secure physical mounting remains absolutely critical. Follow these sequential steps for a professional result.
You must find the strongest part of your ceiling. Slide a stud finder slowly across the drywall. Mark the exact center of the hidden ceiling joists. Next, measure the exact distance between the mounting keyholes on the fixture chassis. Transfer these precise measurements to the ceiling. Ensure the marks align perfectly parallel with the front edge of your workbench. Use a laser level to verify straight lines.
Pre-drilling saves your ceiling from unnecessary damage. Drill pilot holes directly into the marked joist locations. Use a bit slightly smaller than the threads of your hardware. This prevents the old wood from splitting. Thread the heavy-duty eye hooks into the pilot holes. Twist them securely until the base sits perfectly flush with the ceiling surface. You can use a screwdriver shaft through the eyelet for extra leverage.
Unpack the chains or suspension cables provided by the manufacturer. Attach them securely to the designated slots on the fixture chassis. Lift the unit carefully. Hang the top loops of the chains onto your new ceiling hooks. Place a small torpedo level directly on top of the fixture chassis. Check for horizontal accuracy. Adjust individual chain links up or down as necessary. A perfectly level light ensures symmetrical beam distribution.
Route the power cord toward the nearest grounded receptacle. Plug the unit in and test the switch. You must manage the slack of the power cord safely. Dangling cords look terrible and present snagging hazards. Secure the cord firmly to the ceiling or wall. Use insulated cable staples or adhesive zip-tie mounts. Route the cord neatly along corners or edges. This keeps the workspace organized and safe.
Hardwired fixtures provide a clean, integrated aesthetic. They free up valuable wall outlets. However, this method involves direct interaction with your home electrical system. You must prioritize safety above all else. Proceed methodically and never rush electrical connections.
Go directly to your main breaker panel. Locate the specific circuit controlling your ceiling junction box. Turn off the power completely. Return to your workspace to perform a critical safety check. Probe the existing junction box wires using your non-contact voltage tester. The tester should remain silent and unlit. You must guarantee absolutely zero voltage exists before touching bare copper. Do not skip this test under any circumstances.
Prepare the new fixture for ceiling attachment. Remove the protective lens or LED array. This grants access to the internal mounting holes. Lift the empty chassis toward the ceiling junction box. Feed the existing house wiring gently through the central knockout hole. Align the chassis mounting slots over the junction box screw holes. Secure the chassis tightly using appropriate wood screws or machine screws. Ensure it sits flush against the ceiling material.
Inspect the ends of the house wires. Strip the insulation back if necessary to expose fresh copper. Match the wires systematically. Connect the bare copper or green wire to the fixture ground. Connect the white neutral wire to the fixture neutral. Finally, connect the black hot wire to the fixture hot wire. Secure each pair tightly with wire nuts. Tug gently on each connection to verify strength. Tuck the bundled wiring carefully back into the junction box space. Ensure the chassis edges pinch no wires.
Snap the LED array or protective fixture lens back into place. Ensure all clips engage fully. Return to the main breaker panel. Flip the circuit back on. Walk back to your workspace and test the wall switch. Evaluate the fixture for immediate functionality. It should provide bright, delay-free illumination. Listen closely for any buzzing sounds. Inspect the lens for any flickering. A steady, silent light indicates a successful, secure installation.
Choosing the correct fixture dictates the long-term utility of your workspace. A hardwired fixture delivers permanent, switch-operated convenience. A suspended plug-in unit offers rapid, scalable installation. Meanwhile, portable units handle highly dynamic, shifting tasks. You must align your choice with your specific workflow demands.
Physical installation requires careful mapping. Taking the time to calculate optimal height and forward angles proves absolutely critical. It reduces frustrating shadows and maximizes visibility. Rushing the placement phase compromises the entire project.
Take action before making a purchase. Audit your current workbench dimensions today. Measure your ceiling height accurately. Locate your existing outlet positions. This simple assessment guarantees you buy the exact fixture required for professional results.
A: You should typically hang it 3 to 4 feet above the table surface. This range depends largely on the fixture lumen output. It also depends on whether your task requires broad coverage or intense, highly focused light. Taller heights require brighter fixtures to maintain visibility.
A: It is strongly discouraged. You should always anchor directly to wooden joists for safety. If joists remain entirely unavailable, you must use high-weight-rated toggle bolts. However, this method still remains suboptimal for heavier, industrial-grade fixtures due to vibration fatigue.
A: Daisy-chaining linkable plug-in LED shop lights offers the best solution. This method allows you to illuminate a massive area efficiently. You only need one existing standard wall or ceiling outlet to power multiple connected fixtures simultaneously.
A: It depends entirely on your specific application. Fixed ceiling lights provide consistent, broad ambient visibility across a bench. Portable units excel during under-hood automotive work. They also handle specific, directional task lighting far better than static overhead options.

