


Views: 0 Author: Site Editor Publish Time: 2026-09-16 Origin: Site


Establishing a reliable mobile illumination source requires absolute precision. You often achieve this goal by wiring an LED fixture directly to an external battery system. You might need bright lighting for off-grid construction sites. You might equip an emergency response vehicle for night operations. Proper wiring remains absolutely critical across all scenarios. Improper wiring quickly leads to parasitic battery drain. It causes premature hardware failure. It even creates severe electrical fire risks. It is a highly technical process requiring careful planning.
We created this engineering-grade implementation guide to help you build highly safe electrical circuits. You will learn a standardized framework for calculating electrical load. We will help you select appropriate circuit protection. You will learn how to execute a highly secure connection. Follow these exact steps carefully. They ensure your lighting setup operates reliably under the most demanding outdoor conditions.
Voltage matching is non-negotiable: The input voltage of the DC work light must explicitly match the battery’s output (typically 12V or 24V) to prevent component destruction.
Circuit protection is mandatory: An appropriately sized inline fuse installed near the battery’s positive terminal is the primary defense against thermal events.
Component sizing dictates reliability: Wire gauge (AWG), relay requirements, and switch ratings must be mathematically determined based on the light’s total amperage draw and wire run length.
Parasitic draw prevention: Integrating an isolating switch or relay ensures the battery is not depleted when the light is inactive.
A safe electrical circuit balances power demand against available supply capacity. It maintains safe operating temperatures across all internal components. You must establish baseline success criteria early in the project. First, match your Work Light to the available power source. Verify the operating voltage range of the LED fixture carefully. Some basic models are strictly designed for 12V systems. Advanced fixtures often feature 9-32V multi-voltage internal drivers. These advanced drivers adapt automatically to voltage fluctuations. They utilize internal buck-boost converters to stabilize the output.
You must also assess battery chemistry and nominal voltage behavior. A standard 12V Lead-Acid battery drops voltage significantly under heavy loads. This voltage drop can trigger low-voltage cutoff circuits in sensitive electronics. Conversely, a 12V LiFePO4 lithium battery maintains a much higher sustained voltage throughout its discharge cycle. It provides highly consistent illumination until it depletes almost entirely. Knowing your battery chemistry helps you predict system performance accurately.
Next, calculate the total amperage draw. Engineers refer to this as the evaluation formula. Use Watt's Law ($I = P / V$). Divide the stated wattage of the fixture by the system voltage. This simple math determines the continuous amp draw. For example, a 120-watt fixture on a 12-volt system draws exactly 10 amps. Assumption check: Manufacturer wattage claims on cheaper LEDs are often inflated. Always base your safety calculations on peak potential draw. Never rely on the average draw for circuit protection sizing. An undersized circuit creates serious hazards.
Finally, estimate your actual battery runtime. The standard formula remains quite simple. Divide Battery Capacity (Ah) by Fixture Draw (Amps). The result equals Theoretical Runtime. Reality check: You must factor in a 20% inefficiency loss due to heat generation and wire resistance. You must also respect specific discharge limits for different chemistries. For example, you should never discharge a traditional lead-acid battery below 50% capacity. Doing so permanently damages the internal lead plates. Deep cycle lithium batteries offer deeper safe discharge rates. They still require a small buffer zone to maximize their total operational lifespan.
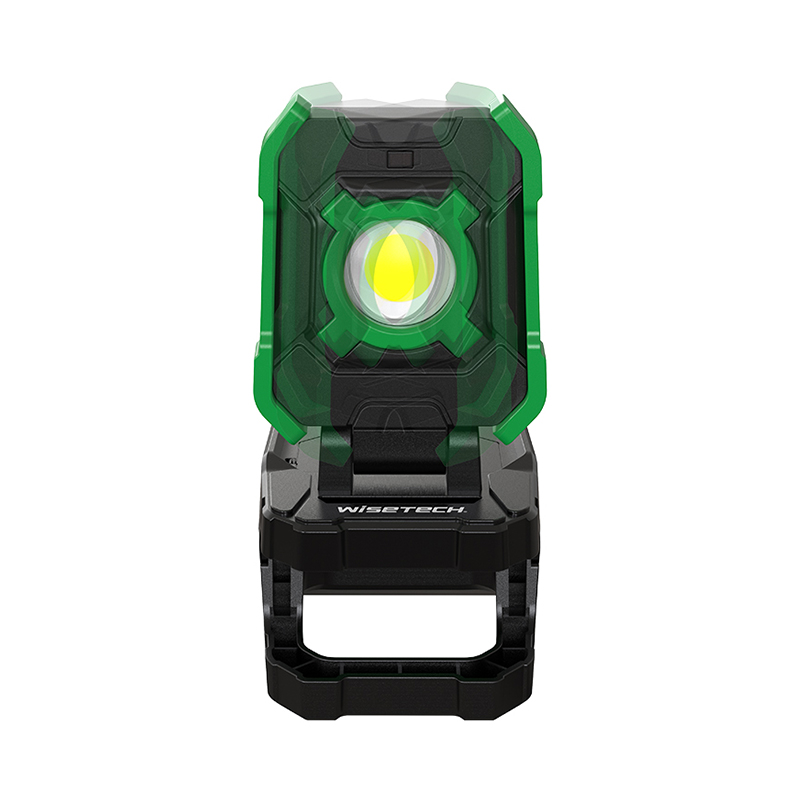
Proper wire sizing prevents dangerous heat buildup. It eliminates excessive voltage drops across long distances. We strongly recommend selecting marine-grade or automotive-grade stranded copper wire. Solid core wires break easily under normal vehicle vibration. Marine-grade tinned copper resists corrosion much better in wet environments. Calculate the required American Wire Gauge (AWG) meticulously. Base this specific calculation on total amperage and the round-trip distance of the wire run. The round-trip includes both the positive supply line and the negative return line. Aim for a maximum voltage drop of less than 3%. This strict electrical tolerance guarantees optimal LED driver performance.
Standard 12V Circuit Component Capacity Guide
Total Amp Draw (Amps) | Recommended Wire Gauge (AWG) for 0-10 Feet | Recommended Switch Rating | Relay Required? |
|---|---|---|---|
0 - 5 | 16 AWG | 10A DC Rated | No |
6 - 10 | 14 AWG | 15A DC Rated | Optional |
11 - 15 | 12 AWG | 20A DC Rated | Yes |
16 - 20 | 10 AWG | Use Relay Control | Yes |
Inline fuses provide absolutely essential circuit protection. They prevent catastrophic fires effectively. As a standard rule of thumb, size the fuse at 125% to 150% of the fixture's maximum amp draw. Position the waterproof fuse holder within 6 to 12 inches of the battery's positive terminal. This strategic placement protects the maximum physical length of wire. If a short circuit occurs downstream, the fuse blows immediately. This rapid action cuts power before the wire insulation melts. Standard ATC or ATO blade fuses work perfectly for most lighting applications under 30 amps.
You also need highly durable switches and relays. For low continuous draws under 10 amps, a heavy-duty toggle or rocker switch works exceptionally well. Ensure the selected switch is strictly rated for DC current. Direct current arcs are much harder to extinguish than alternating current arcs. For high-draw lighting arrays exceeding 10 amps, implement a standard 4-pin or 5-pin 12V automotive relay. Relays keep high electrical current completely out of the dashboard control switch circuit. The dashboard switch merely sends a tiny trigger signal to the relay coil. This specific setup extends switch lifespan immensely. It prevents terrifying dashboard fires. It minimizes dangerous voltage drops over long dashboard wiring runs.
Follow these structured phases carefully to ensure maximum reliability and safety.
Always disconnect all primary power sources before beginning any physical work. Plan the cable routing path carefully. Avoid high-heat areas like engine exhausts, turbochargers, or radiators. Steer clear of moving suspension parts or sharp metal chassis edges. Use split loom tubing or braided nylon sleeves. These durable coverings offer superior abrasion resistance over bare PVC wire jackets. Secure the protective loom tightly using UV-resistant zip ties every twelve inches. If you must pass wires through a metal firewall, install tight rubber grommets to prevent slicing the wire insulation.
Avoid twisted-and-taped wires completely. They fail quickly under heavy vibration or extreme temperature changes. Tape eventually loses its adhesive properties. Use professional termination methods to prevent destructive moisture ingress.
We highly recommend these reliable connection techniques:
Use crimped heat-shrink ring terminals for connecting directly to battery posts.
Use properly soldered inline joints for creating permanent wire splices.
Apply dual-wall adhesive heat shrink tubing over all exposed metal junctions.
Wire the positive (+) lead systematically. Follow this exact sequence for maximum safety:
Connect the primary heavy-gauge wire directly to the battery positive terminal.
Route this wire immediately into the waterproof inline fuse holder.
Run the protected wire from the fuse output to your dashboard switch or relay block.
Attach the final output wire securely to the positive input of your DC Work Light.
An electrical circuit is only as strong as its weakest ground connection. Connect the negative (-) lead from the fixture directly back to the battery negative terminal. Professionals call this a home-run method. It eliminates frustrating chassis resistance issues entirely. Alternatively, bolt the heavy ground ring to a clean, bare-metal chassis ground point. You must meticulously sand away all paint, primer, and rust first. Always verify this connection has extremely low electrical resistance using a calibrated digital multimeter. Apply a thick coat of dielectric grease over the bolted connection. This grease effectively blocks future rust formation.
Reconnect the main battery power safely. Install the correctly sized fuse last. Engage the control switch. Monitor the entire wire run and relay casing carefully. Feel for any abnormal heat generation during the first 10 minutes of operation. Test the voltage directly at the fixture input terminals. Compare this reading against the resting battery post voltage. A difference larger than 0.5 volts indicates a poor connection somewhere inside your circuit. You must locate and fix this resistance point immediately.
Undersized wiring introduces serious mechanical and thermal problems. It leads directly to excess electrical resistance. Resistance generates intense heat inside the plastic wire jacket. This heat causes wire melting and potential vehicle fires. It also causes severe downstream voltage drops. These sudden drops cause LED flickering or premature internal driver failure. Always verify your wire gauge selection twice using a reputable AWG distance calculator. Do not guess the required wire thickness.
Bypassing the inline fuse is incredibly dangerous. It represents the single most common cause of catastrophic electrical failure in DIY installations. Never wire any electronic device directly to battery posts without intermediate protection. If an unprotected positive wire chafes against a grounded metal chassis, it creates a massive dead short. The battery dumps hundreds of amps into the copper wire instantly. The wire will catch fire in a matter of seconds. It will likely destroy the vehicle or equipment entirely.
Moisture and corrosion degrade electrical performance steadily over time. Using non-weatherproof switches guarantees rapid internal oxidation. Unsealed wire splices in outdoor or mobile environments allow continuous water entry. Water travels quickly up the internal wire strands through a process called capillary action. This phenomenon causes sudden circuit failure months after the initial installation. It also promotes galvanic corrosion when dissimilar metals touch. Always use IP67-rated sealed connectors in external environments.
Overlooking heavy-duty relays for multi-light setups routinely destroys expensive equipment. Daisy-chaining multiple high-wattage fixtures on a single low-amp dashboard switch is a major mistake. It will inevitably melt the delicate switch contacts inside the cab. Always incorporate high-capacity automotive relays for these demanding setups. Let the robust relay handle the heavy lifting. The dashboard switch should only carry the tiny trigger current required to close the relay coil.
Successful electrical installation relies entirely on rigorous pre-calculation. You must match component voltages accurately to avoid catastrophic damage. You must calculate total amperage meticulously to ensure safety margins. Sizing wires correctly based on physical distance remains absolutely essential. Placing the inline fuse correctly prevents disastrous thermal failures from destroying your equipment. Adhering to these fundamental engineering principles guarantees a highly robust illumination system.
Audit your specific LED fixture's peak wattage rating immediately. Measure the intended wire run distance physically using a reliable tape measure. Procure the appropriately rated copper wire, waterproof fuse, and control switch based on your math. Begin physical installation only after verifying all acquired parts meet your strict mathematical requirements.
A: No. Commercial DC work lights have internal drivers that regulate current. You only need resistors when wiring raw, individual LED diodes.
A: Generally, no. A strict 24V light will either fail to illuminate or operate extremely dimly on a 12V circuit. Always check if the light has a wide-range driver (e.g., 9-32V).
A: Flickering typically indicates a significant voltage drop caused by undersized wiring, a loose ground connection, or a battery that is deeply discharged under load.
A: A 50W light draws approximately 4.1 amps at 12V. On a fully charged 50Ah deep-cycle battery, it will run theoretically for ~12 hours, though practical safe runtime is closer to 8-10 hours depending on the battery chemistry.

